![]()
WordPress is one of the most popular content management systems (CMS) in the world, and it is widely used by many popular and large-scale websites. Over the years, WordPress has been the go-to CMS for building websites, due to its user-friendly, flexible, and customizable nature, which appeals to both experienced developers and business owners who want more control over how their website looks.
This CMS has an extensive list of themes and plugins that allow you to design and set functionality options for your site, without needing any existing knowledge of coding. WordPress is also SEO-friendly, scalable, and can grow with any business or project you have in mind. You can build portfolios, e-commerce, interior design, renting, and consultation websites on it.
In this guide, you’ll learn how to install WordPress on cPanel. It’s also important to note that cPanel stands for “control panel.” It is an extended dashboard where you go to set, configure, and customise every advanced setting you want for your website.
How to Install WordPress on cPanel
1. Once you log in to your cPanel dashboard, scroll down to the section that says “Scripts.“

2. In that section, choose WordPress.
3. You will be redirected to a new page where you will click on Install.

4. You will see Choose installation URL, which will show up as your original domain (example: hestiene.com).
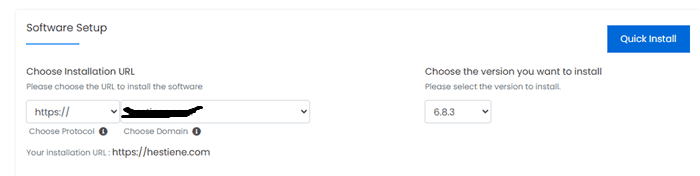
5. However, if you’ve recently created any subdomains, they will also show up in the drop-down menu for this option. Select the destination URL you want to install WordPress on.
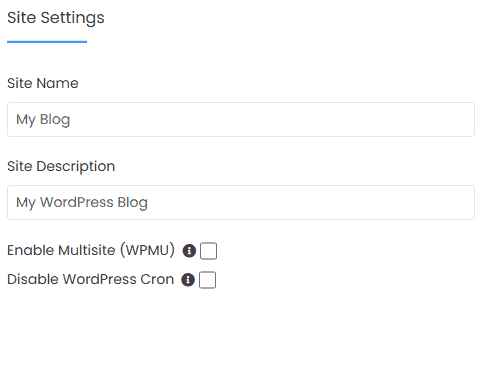
6. In Site Settings, change the site name and the description. Put a name that accurately describes your business.
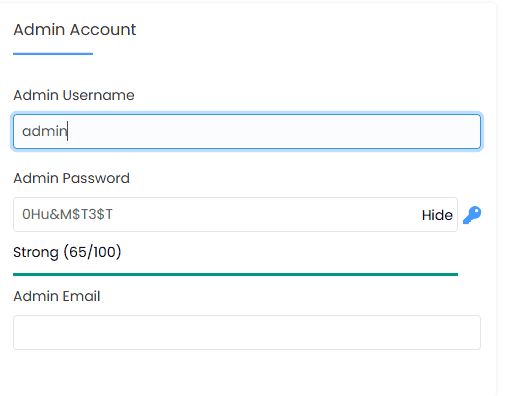
7. Confirm the admin username, password, and email. The system will suggest for you, but you shouldn’t keep the system’s suggestion and instead change to your preferred details.
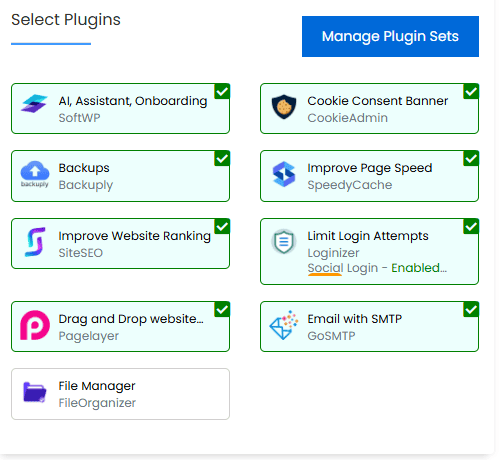
8. Select Plugins. This comes preset, and you will see a list of plugins you’ll need for the running of your new website.
9. You will scroll to the end of the page and select Install. You can add the email address you want installation details sent to, if you’d like that option. Give it a few minutes to load.
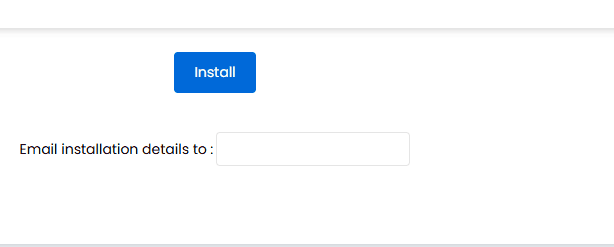
10. When installation is complete, you’ll get the administrative URL and new site link.
After you receive your website URL and administrative link, you can now log in to your website using the admin username, password, and email details you chose. Once inside your new WordPress website, you can now start customising the platform as you see fit.
I did a breakdown of how to install Astra theme for website customisation. You can check it out if you’re looking for a simple WordPress theme to customise your website with.
This was insightful. Thank you.